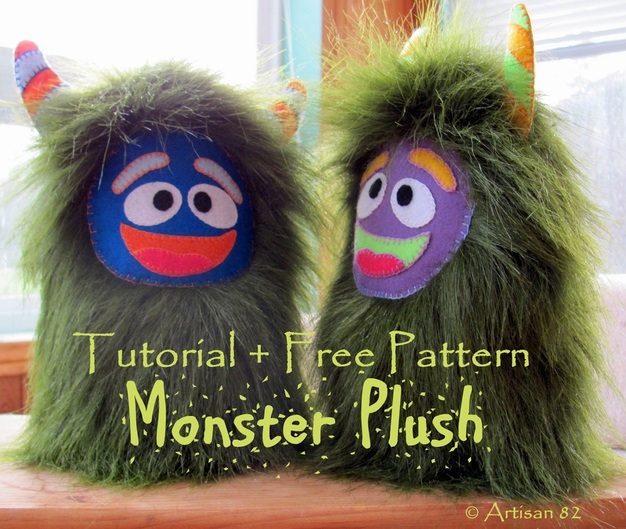
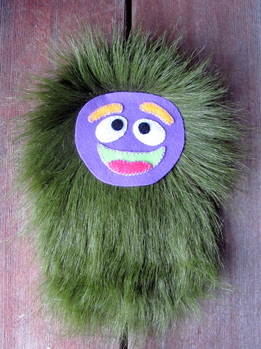
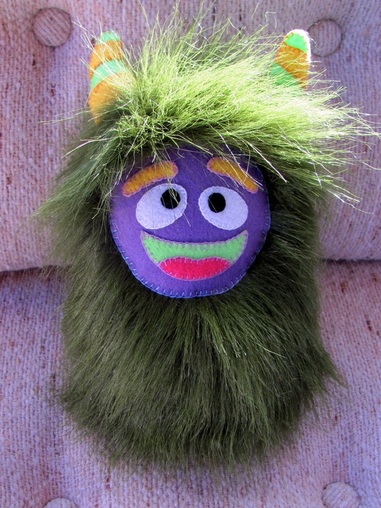
I had some extra fun-fur leftover from another project, so I thought I'd make a couple cute stuffed monsters for two special little people in my life. I'm not ashamed to admit that I'm very tempted to keep these for myself... but I don't know how my husband would react to me nightly snuggling a little green monster...
Here's how I made mine. The pattern is free for your personal use.
Here's how I made mine. The pattern is free for your personal use.
|
| ||||
Supplies
- fun fur (If you're buying this off the bolt, 0.3 meters or 12" will get you a few monsters. Alternatively, polar fleece or 2 sheets of craft felt also make a great monster body.)
- 3 sheets of craft felt in three different colours (The pattern is labeled colour 1, colour 2, colour 3 - neato, hunh?)
- scrap of white, black, and pink felt
- thread
- poly-fill stuffing
- iron-on t-shirt transfers. (I used these. You'll need one sheet per monster.)
Tools
- scissors
- pen knife
- sewing needles
- pins
- iron
- pen
How To
You're going to want to read all the instructions prior to starting.
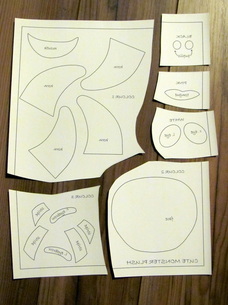
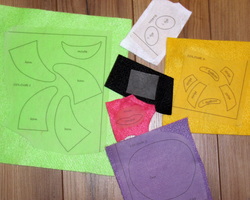
1. Print out your pattern file onto the t-shirt transfer paper according to the package directions. Roughly cut out the different colour sections on the grey lines. (There's no need to print the 'monster body' on special paper)
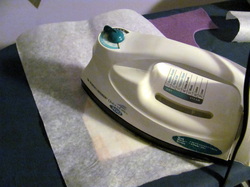
2. Iron each pattern section onto the coordinating colour of felt. I put a piece of kitchen parchment paper on top of the felt. This protects my iron from any oozing goo and prevents the felt from scorching.
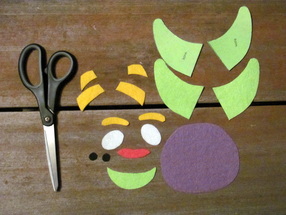
| | 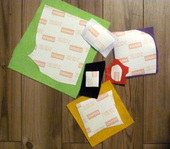 You should end up with a pile something like this. In this example, Colour 1 is green, Colour 2 is purple, and Colour 3 is yellow. |
3.Peel off the backing paper. See how prettily the pattern has transferred?
4. Cut out your pieces along the lines. You'll notice that the t-shirt transfer paper stabilizes the felt, giving your pieces a nice clean edge.
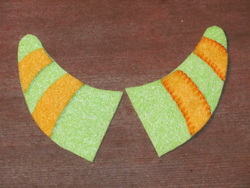
5. Grab two horn fronts. It doesn't matter which two horn pieces you use, as long as they're a mirrored image of each other. Arrange the horn stripes as shown on the left side below. Stitch across the long edges of each stripe as shown. Repeat for both horn fronts.
I used a contrasting colour of embroidery thread (3 strands) and a blanket stitch, because I wanted the stitching to stand out. Regular thread and a regular old in-and-out stitch are totally fine too.
I used a contrasting colour of embroidery thread (3 strands) and a blanket stitch, because I wanted the stitching to stand out. Regular thread and a regular old in-and-out stitch are totally fine too.

6. Put the horn fronts on top of their corresponding back pieces, wrong sides (printed sides) together. Stitch around the outside edge of the horns. Don't stitch across the base (flat edge) of each horn. Lightly stuff each horn with poly-fill and set aside.
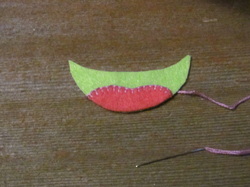
7. Stitch the tongue onto the mouth, as shown. There's no need to sew along the outside edge of the tongue.
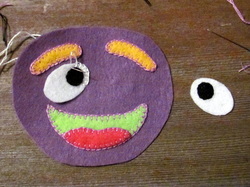
8. Sew the pupils onto the eyes. Sew the eyes, eyebrows and mouth onto the face.
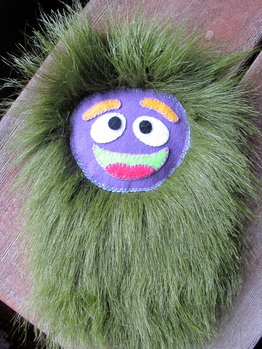
| | 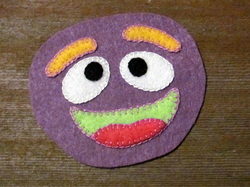 Your monster face should look something like this. Set the face aside with the horns. |
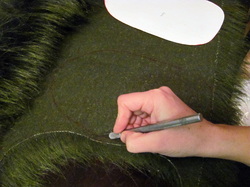
9. Trace the body piece onto the back of the fun fur twice, being mindful of the fur direction. The fur should lay downwards on the body. Cut out the pieces with a pen knife, cutting through only the backing.
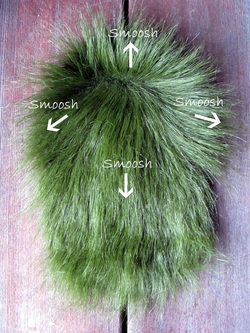
10. Place one of the body pieces (this will be the front) on a table, furry side up. Smoosh the fur outward from where the face will go.
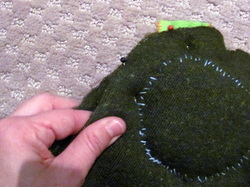
11. Place the face on the body and stitch it down. Use a few pins to hold the face in place while you sew, if needed. Oh he's so cute!
 |  |
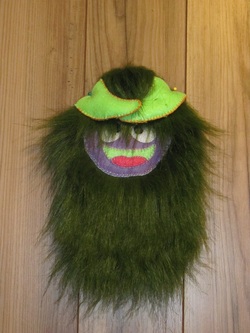
12. Smooth the monster's hair downward, away from the top cut edge. Pin the horns to the monster's head, stripey side down, as pictured.
13. Pin the second body piece to the front side, furry sides together. Use your fingers to push the fur into the piece, away from the edges, as you pin. Don't be shy, use lots of pins.
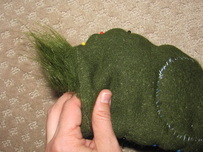 14. Leave an opening of about three inches at the bottom of the piece, through which you can turn him inside-out later. | 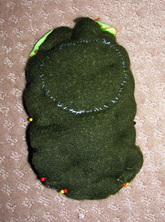 Here's what my little dude looked like after pinning. Sort of like a lumpy green peanut. |
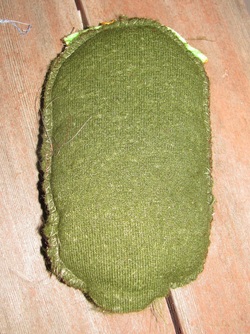
15. Stitch around the body with a quarter-inch seam allowance. Make sure you catch the horns in your stitching.
17. The last step is to turn him inside out, stuff him, and hand stitch the bottom hole closed. Ta da! Your new monster buddy is complete! I'd love to see photos of any monsters you make!


 RSS Feed