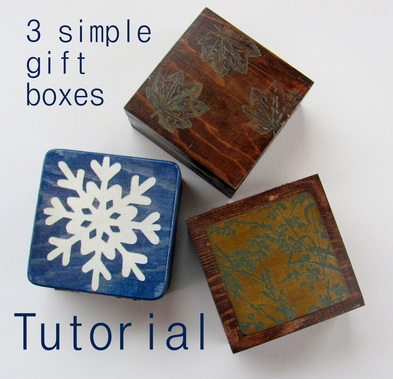
I made these simple wooden gift boxes to parcel up some of the gifts I've been making. They started out as inexpensive wooden craft boxes from Dollar Tree. With a minimal amount of time and funds invested, they were really easily transformed into something that's impressive. AND its kind of like a second gift - because a pretty wooden box can be used to collect life's little knick knacks all year long.
To start, I sanded all the boxes with 220 grit sandpaper and gave them all a stain inside and out. I always use water-based stains from a Canadian company called SamaN. If you don't have a rainbow of stain colours readily available like I do, mix up a substitute with 1 part acrylic craft paint + 1 part white glue + 2 parts water. Cheap and easy. When the stain is dry, sand the box again.
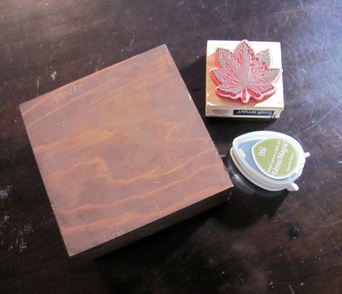
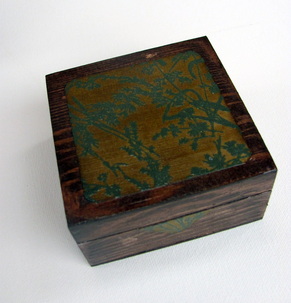
1. Stamped Box
A bargain bin stamp that cost me a whole dollar + something called chalk ink
A bargain bin stamp that cost me a whole dollar + something called chalk ink
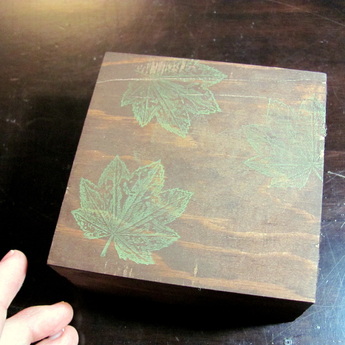
I just stamped all over the box... I had to press really hard on the stamp to get a good transfer because the wood surface wasn't 100% smooth. It looked great until...
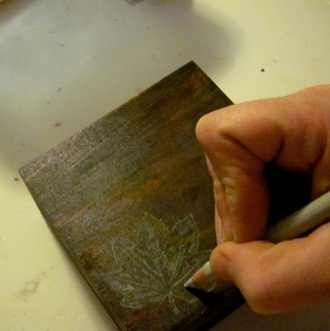
...until it dried and I got a coat of polyurethane on top. Then I couldn't see the leaves very well anymore. So I took a light grey coloured pencil and traced over the faded ink lines.
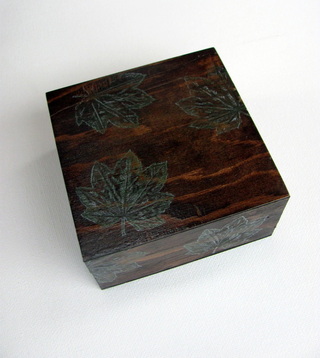
The faded ink turned out to be a happy accident because I think it actually looks better with the ink and pencil crayon together. (#1 Rule of crafting, when you make a mistake, tell people you meant to do it that way.)
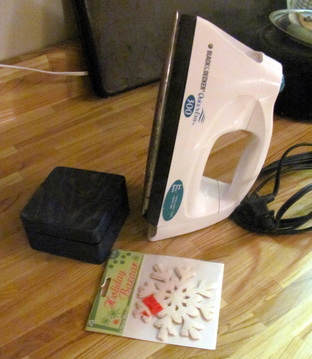
2. Iron on Applique Box
I scored some iron-on snowflake appliques from my local sewing store's bargain bin (I admit, I've had these for a few months. I grabbed these and more when I saw them in late August because I have a bit of a thing for snowflakes.)
I scored some iron-on snowflake appliques from my local sewing store's bargain bin (I admit, I've had these for a few months. I grabbed these and more when I saw them in late August because I have a bit of a thing for snowflakes.)
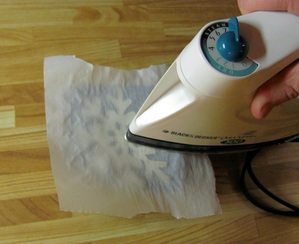
I basically just followed the package directions to apply this to the top of the box. I used some kitchen parchment to protect my iron.
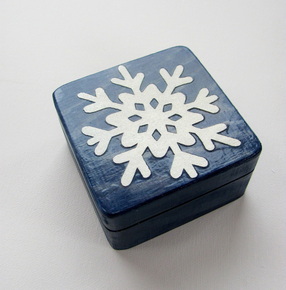
A bajillion (or three) coats of polyurethane later, and she's a beut'!
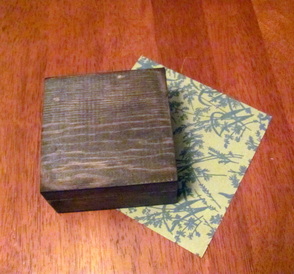
3. Scrapbook Paper Box
This one was really simple: A bit of scrapbook or collage paper.
This one was really simple: A bit of scrapbook or collage paper.
I cut a square slightly smaller than the top, rounded off the corners and stuck it on the top with polyurethane. (White glue would work fine too.) Then I coated it with polyurethane a few times.
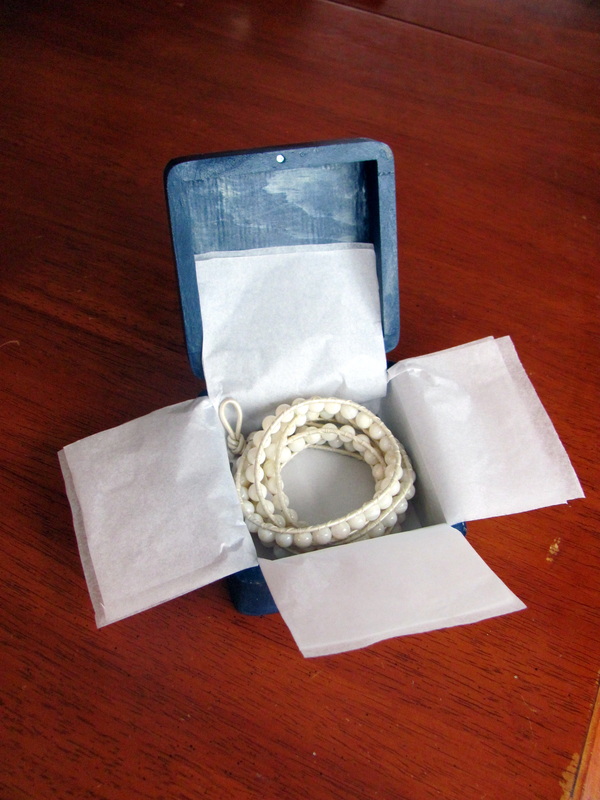
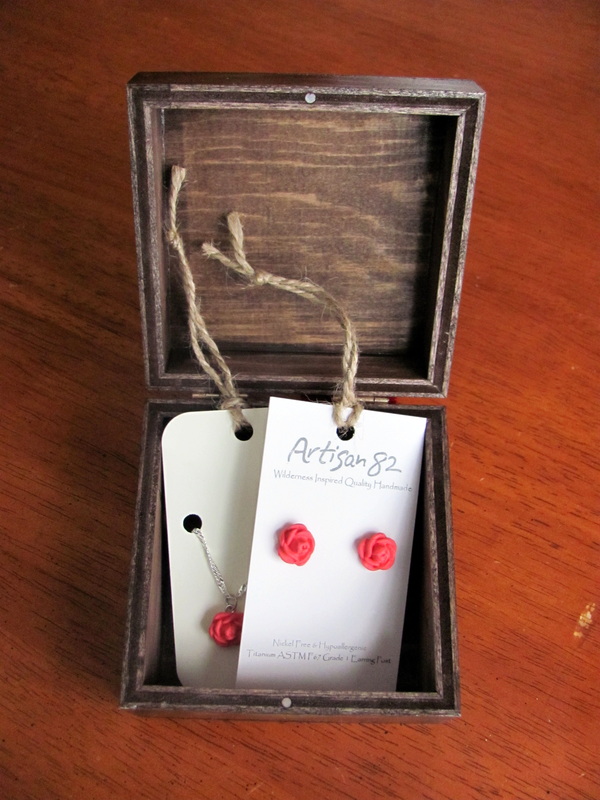
... and Stuff 'em!
The funnest part is letting these little boxes fulfill their destinies. A gorgeous handmade gift inside makes for a complete and extra-special package.
The funnest part is letting these little boxes fulfill their destinies. A gorgeous handmade gift inside makes for a complete and extra-special package.
| 
|
What are your favourite ways to present a present? Do you have any other ideas for making inexpensive wooden boxes look like pretty and pricey?

 RSS Feed