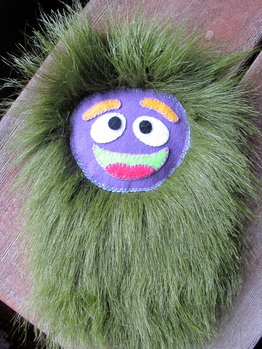
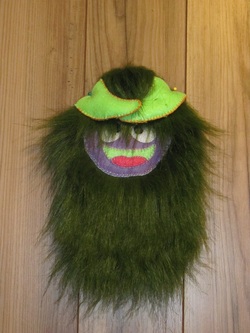
It's March Break time here in our neck of the woods, which means, like me, many people will be travelling with their children. I've got a long, loooong airplane ride with my two and three year old daughters coming up. I've been brainstorming ways to make their trips (and thereby the trips of the people around them) more comfortable. I found this free pattern for a plain children's travel pillow. Using this basic pattern, I added my own elements to turn it to an adorable sleepy bunny with a super-practical handle. I highly recommend you read through Hiragana Mama's tutorial before starting the steps that follow.
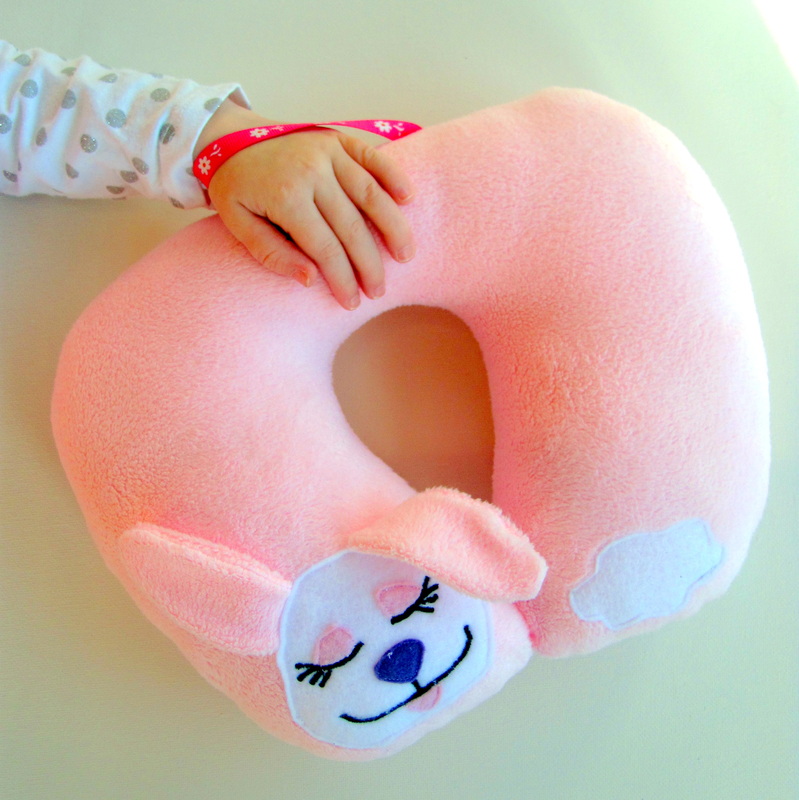 Loved her new pillow so much, she refused to take her hand off while I photographed it.
 Supplies
- fabric for the pillow body
(I used some chenille I had in my stash. Polar fleece, flannel or an old sweatshirt would be awesome too.)
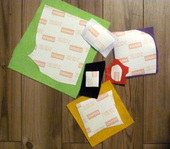
- craft felt in various colours
- thread
- ribbon
- stuffing / fiberfill
- fabric for the pillow body
(I used some chenille I had in my stash. Polar fleece, flannel or an old sweatshirt would be awesome too.)
- craft felt in various colours
- thread
- ribbon
- stuffing / fiberfill
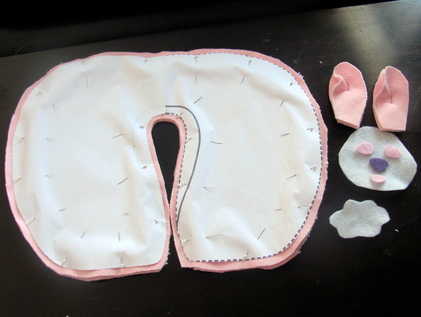
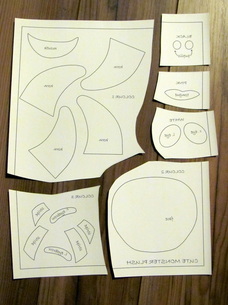
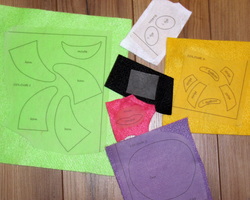
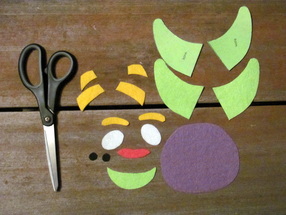
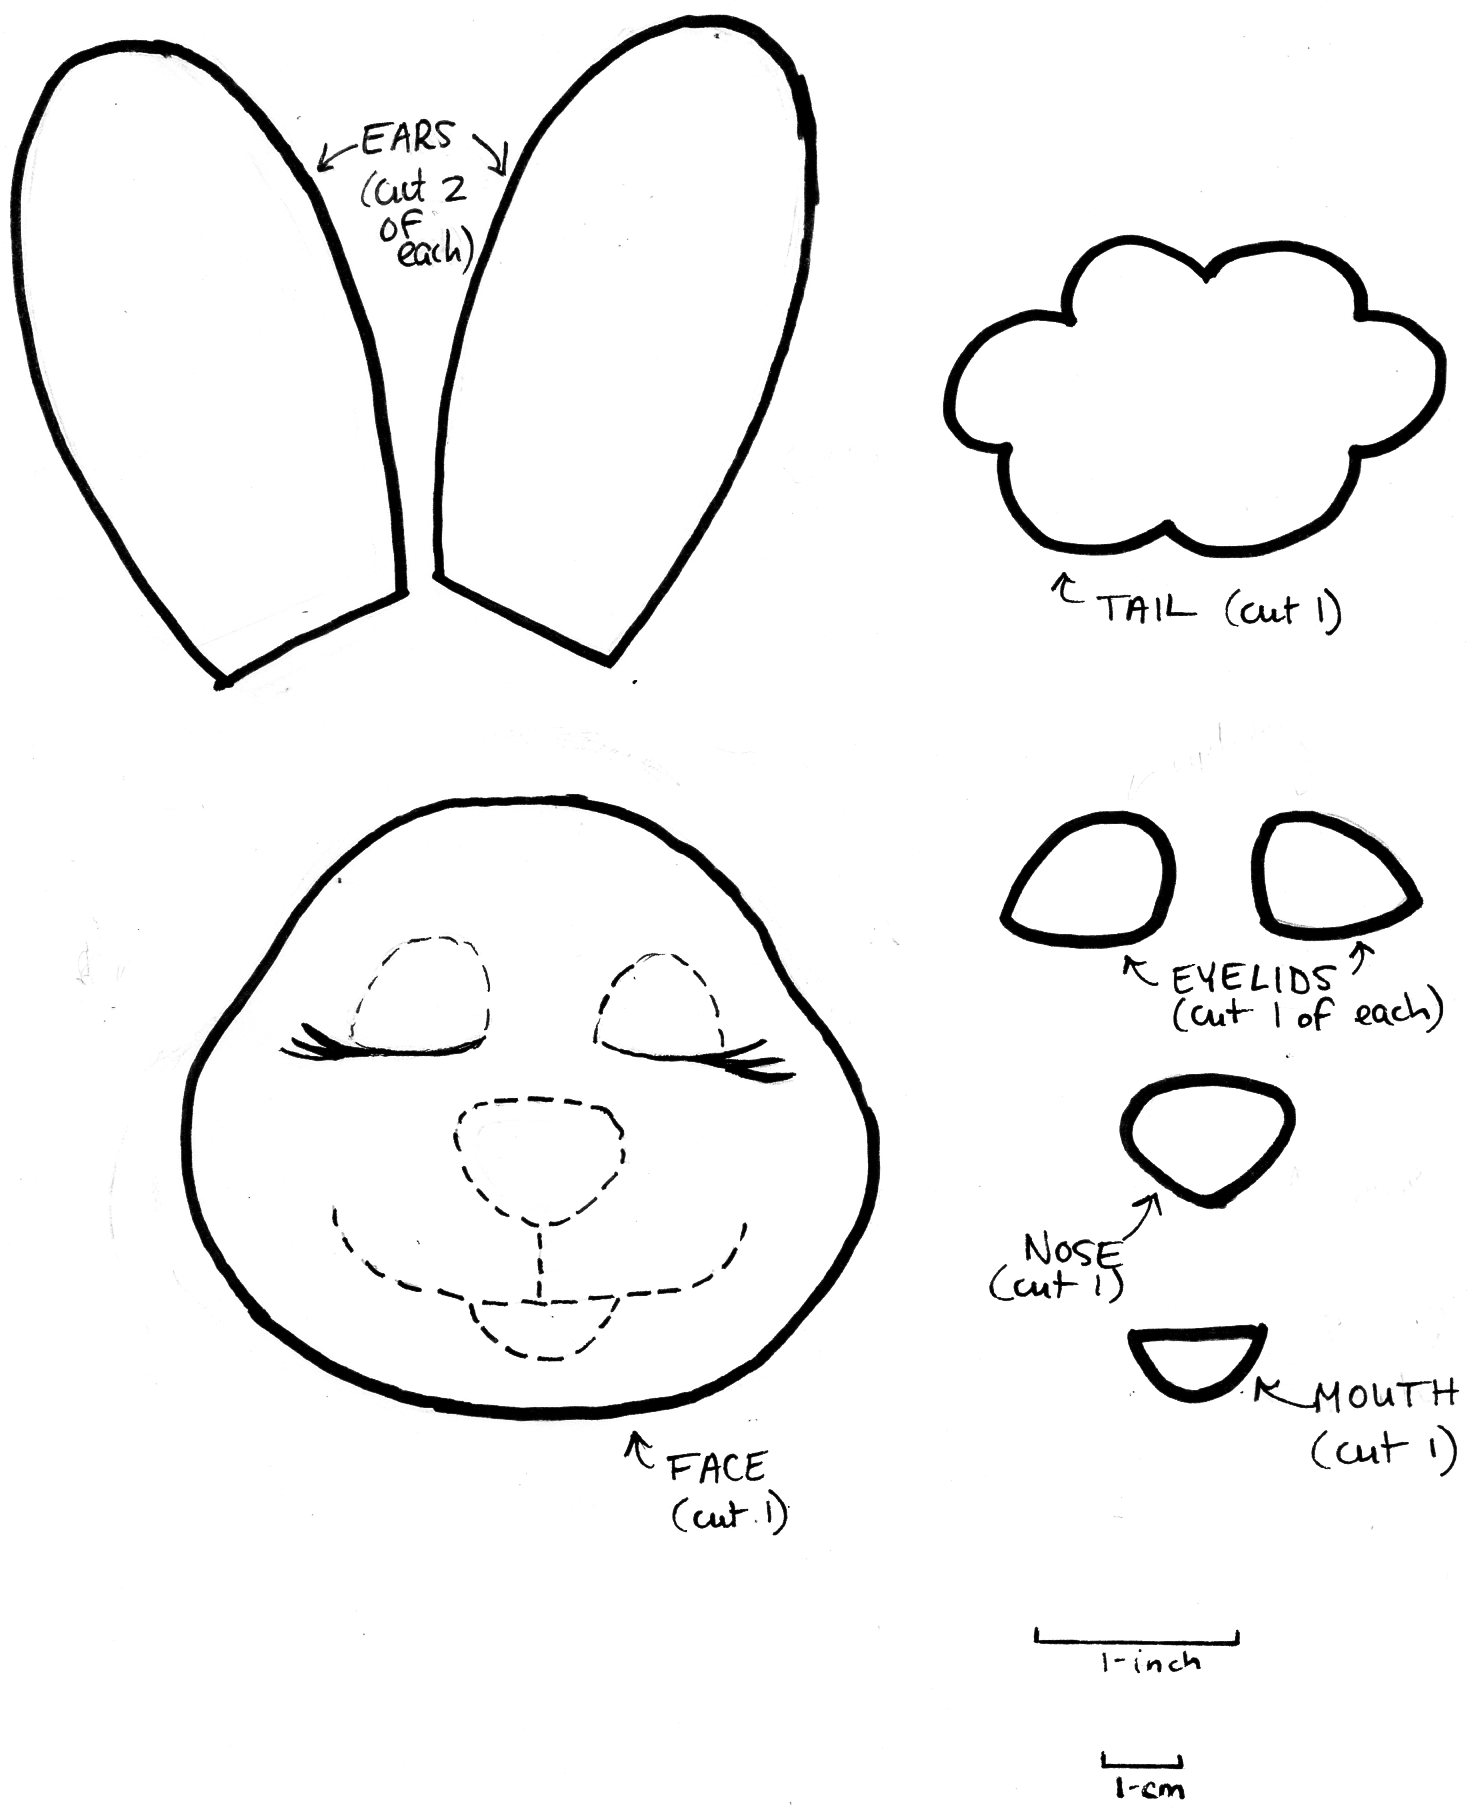
1. Print out the pillow pattern from here and my additional pieces here. Cut out all the pieces. My pattern pieces require no seam allowance.
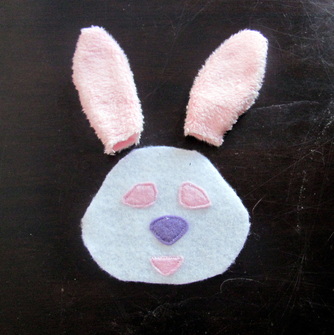
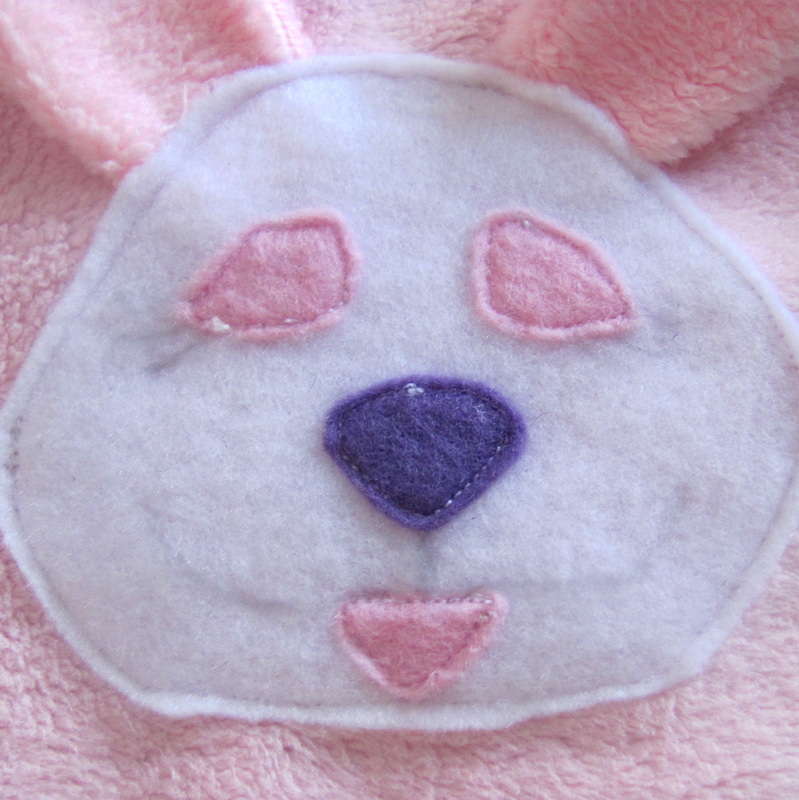
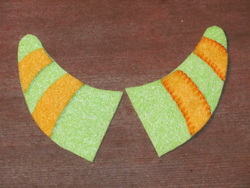
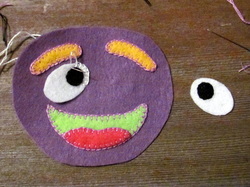
2. Stitch the ears together with 1/4" seam allowance leaving the bottoms open. Turn the ears right-side-out. Stitch the eyes, nose, and mouth pieces onto the face. (Tip: use fabric glue or a gluestick to hold the pieces in place while you sew.)
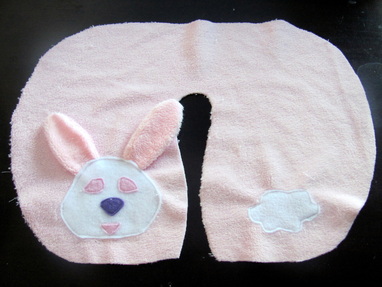
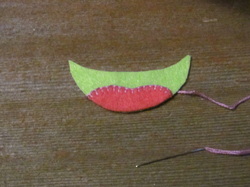
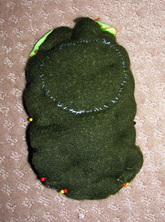
3. Stitch the face onto the good side of the pillow top (fancy quilting folks would call this an appliqué.) Be sure to catch the ears in the top seam of the face as shown. Appliqué the tail onto the pillow top.
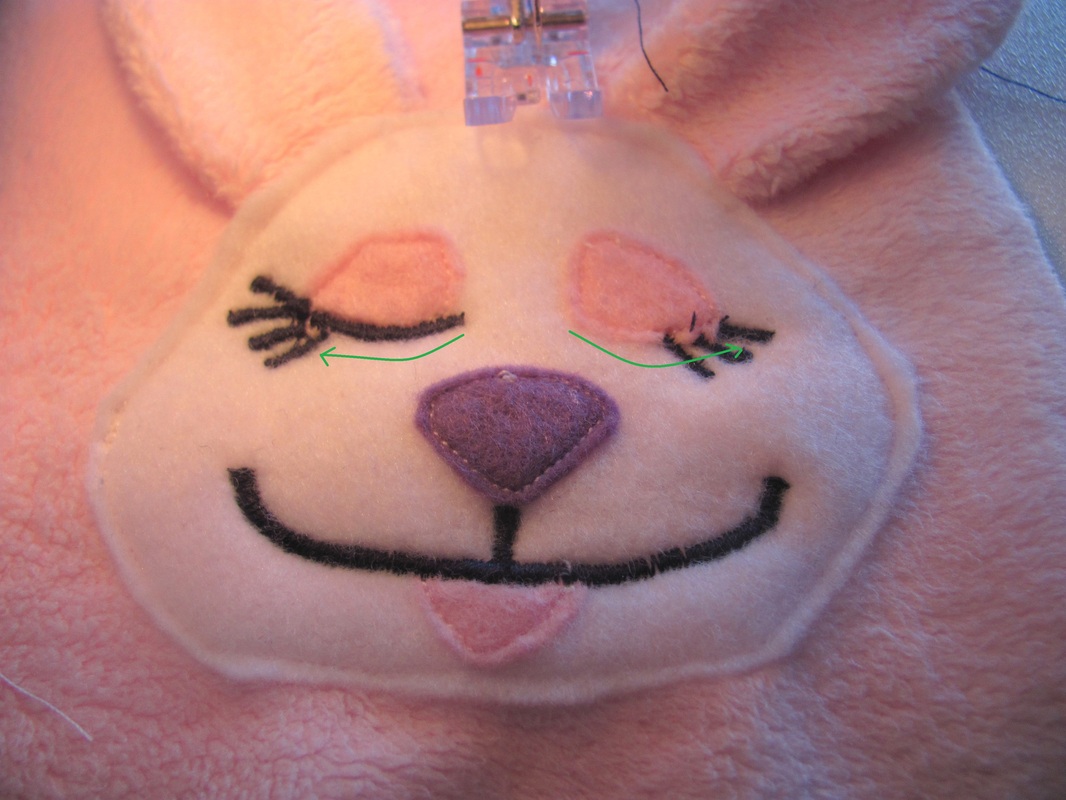
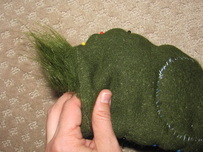
4. Transfer the face details onto the face piece with a pencil or dressmaker's chalk. Embroider them on in a contrasting thread.
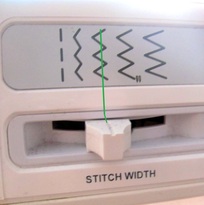
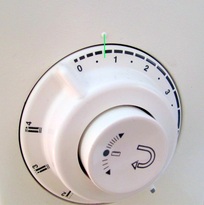
Sidebar: You could definitely embroider the details on the face by hand. Lazy person that I am, I used my sewing machine. I set my machine to a medium stitch width and a stitch length just below 1, as pictured.
Sidebar: You could definitely embroider the details on the face by hand. Lazy person that I am, I used my sewing machine. I set my machine to a medium stitch width and a stitch length just below 1, as pictured.
| 
| 
|
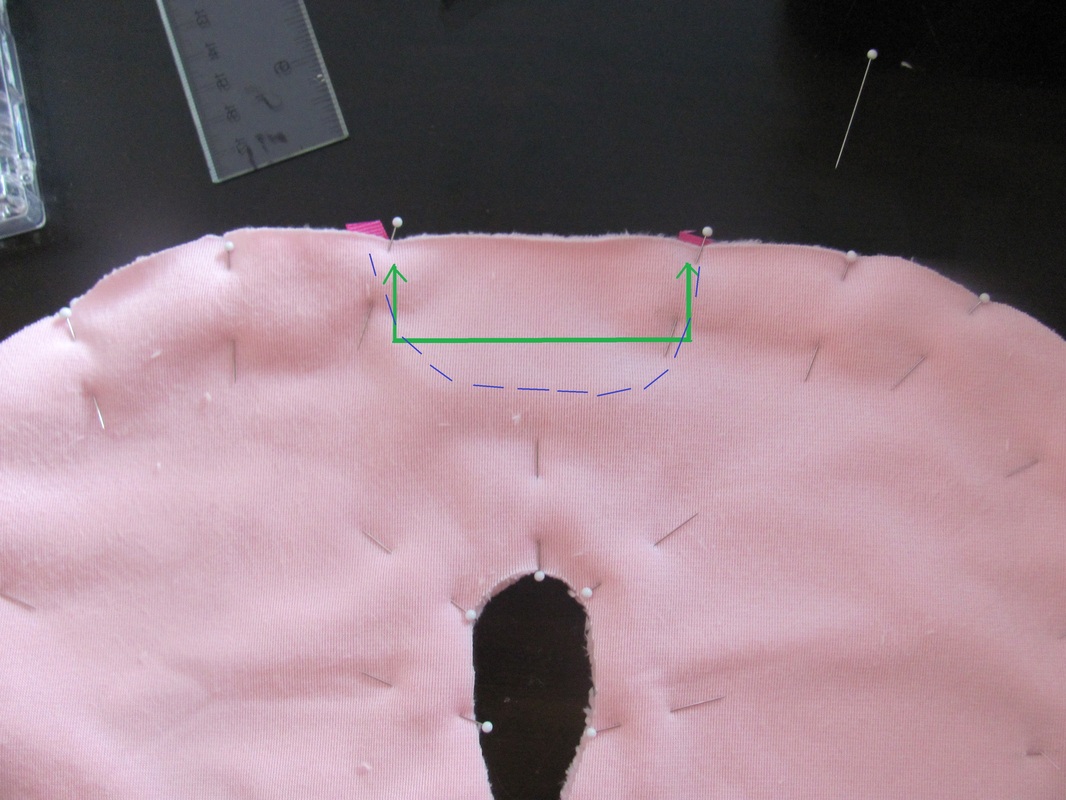
5. Cut about 15 cm (6") of ribbon to make a handle. Pin as indicated. Sew around the outside edge of the pillow, leaving a space between the ribbon ends to turn and stuff. (Tip: make sure you don't catch a bunny ear in the seams.)
| 
|
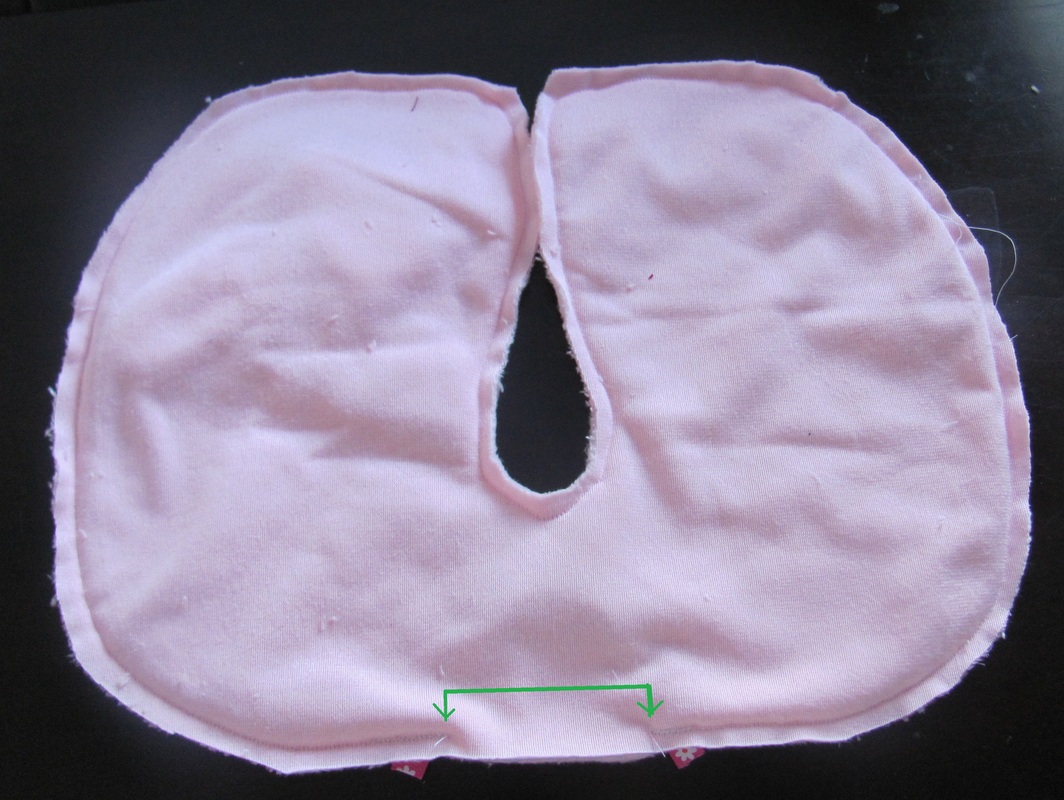
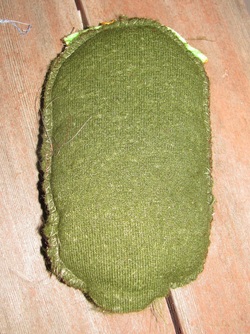
6. Clip your curves, trim your seams, and turn that bunny right-side-out. Stuff it and hand-sew the opening closed with a blind stitch. (Tip: If your pillow looks lumpy, try throwing your pillow in the dryer for a bit to pouf up the stuffing.)
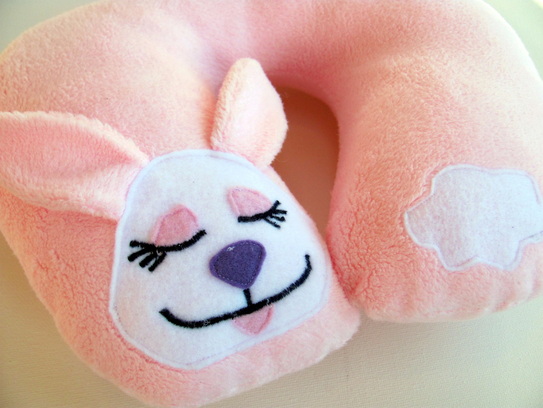
... and that completes the pillow. Here's hoping that this bunny will bring comfort to my daughter during our travels. Do you have any tips or tricks for travelling with children? I'd love to hear them!


 RSS Feed